A great way to jazz up your designs
If you’re a graphic designer, writer, or someone who enjoys playing with different fonts, it’s essential to know how to install and remove fonts on your Macintosh computer.
Adding new fonts to your collection or removing outdated or unwanted typefaces allows you to expand your creative options and keep your font library organized and up to date.
Table of Contents
This tutorial will guide you through installing and removing Mac fonts using macOS’s native font management utility—Font Book.
What Is Font Book?
Font Book is an application that comes pre-installed on Mac computers. It allows you to install fonts, preview and organize typefaces, create collections, and activate or deactivate fonts. It also helps you validate fonts for errors and remove duplicates.
Apple’s Font Book plays a significant role if you add and use multiple fonts, eliminating the need for third-party font management utilities.
Mac OS X and newer versions of macOS support the following list of font types:
- TrueType (.TTF)
- Variable TrueType (.TTF)
- TrueType Collection (.TTC)
- OpenType (.OTF)
- OpenType Collection (.TTC)
- OpenType-SVG (.OTF) — macOS Mojave and Later Only
To open Font Book on your Mac, visit the Launchpad and select Other > Font Book. Alternatively, press Command + Space, type Font Book into Spotlight Search, and press Return.
Download Fonts From Apple
Your Mac comes with a sizable library of fonts pre-installed by default, but you can download dozens of additional free fonts from Apple. To check and download them via Font Book:
- Open Font Book.

- Select the Toggle filter bar icon on the top of the Font Book window.

- Switch to the Downloadable filter, sift through available fonts, and locate a typeface to download. Use the Search bar at the top right of the screen to search for downloadable fonts by name.

- Select the Download icon next to a font to download it to your Mac.

Font Book automatically activates the font after it finishes the download.
Install Third-Party Fonts
You can download custom fonts to your Mac from third-party websites such as Google Fonts, FontShop, and Dafont.com. Once you do that, you’ve got multiple ways to add them to your Mac through Font Book. If a similar font is already on your Mac, you can skip, replace, or keep both versions.
Preview and Install Font
- Visit the location of the downloaded font via Finder and double-click the font file. If the file is in the ZIP format, unzip it first.

- Select Install on the Font Preview pop-up.

The font appears in the Font Book app and should be available for use in your apps.
Drag and Drop Fonts to Font Book
If a downloaded font has multiple styles in separate files, repeatedly double-clicking and installing them with the method above takes time. Instead:
- Highlight the font files in Finder.

- Open Font Book, and then drag and drop the font files into the Font Book window.

Import Fonts Through Font Book
Alternatively, you can import fonts directly through the Font Book app. To do that:
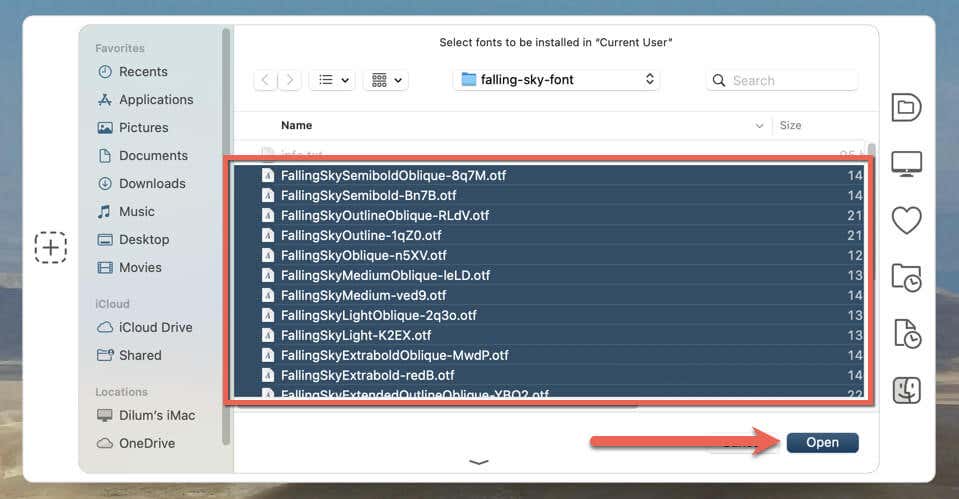
- Open Font Book and select File > Add Fonts to Current User.

- Select the font file or files you want to add and choose Open.
Check Custom Fonts in Font Book
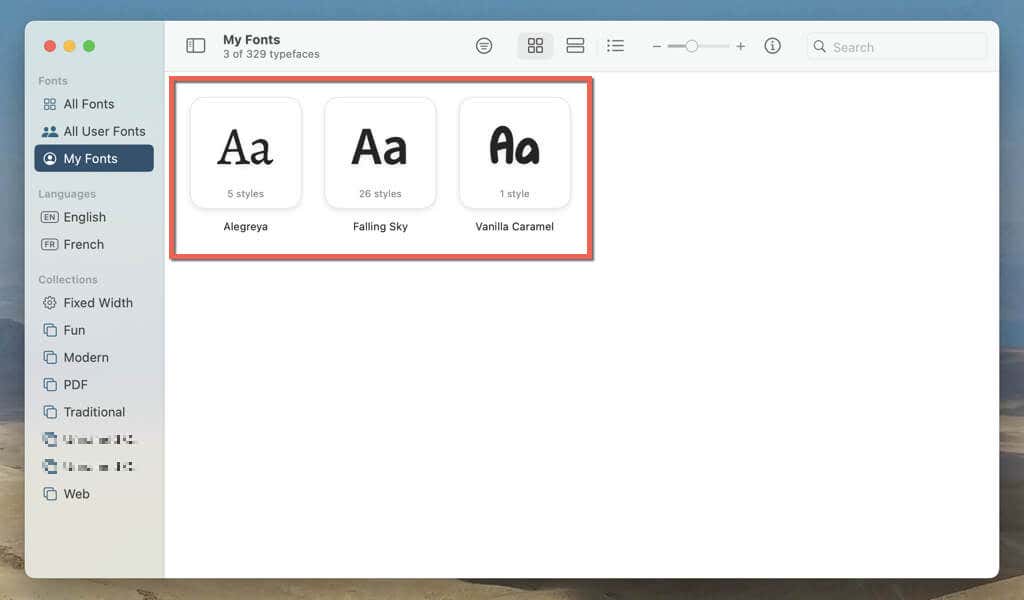
Any fonts you add to Font Book appear under the My Fonts section on the sidebar. Double-click an item to view the font design.
Validate Fonts via Font Book
If you have trouble with a particular font on your Mac, you can use Font Book to validate it for errors. To do that:
- Control-click the font in Font Book and select Validate.

- Wait until Font Book scans the font for errors and select Validation Report.

If there are problems with the font, you can choose to keep, disable, or remove it from your Mac.
Resolve Duplicate Fonts in Font Book
As you keep adding new fonts to your Mac, you may end up with duplicates of similar typefaces. To remove font duplicates:
- Select File > Resolve Duplicates in Font Book.
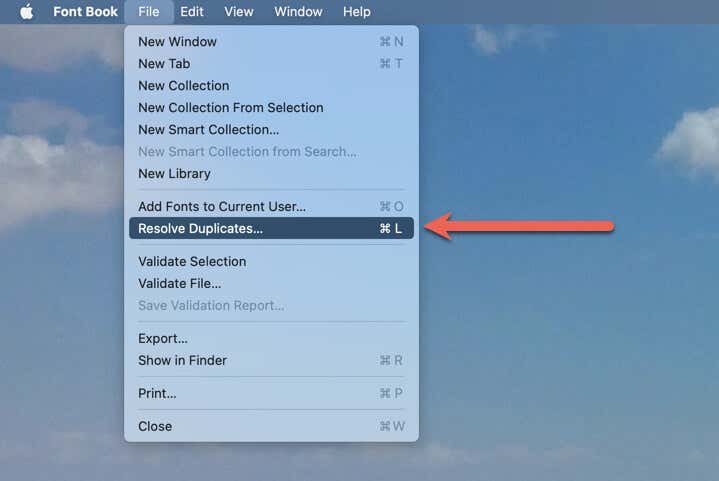
- If duplicates exist, let Font Book remove them automatically (select Resolve Automatically) or delete them yourself (select Resolve Manually). If you pick the latter option, you can also examine the duplicates and pick the styles you want to keep.
Disable Fonts in Font Book
Using a large number of fonts can take a toll on your Mac and introduce performance issues. Disable fonts to free up system resources and prevent conflicts that could cause problems with certain applications.
- Control-click the font in Font Book and select Deactivate.

- Select Deactivate Font(s) on the confirmation dialog.

To reactivate the font, highlight it again in Font Book and choose File > Reactivate.
Remove Fonts in Font Book
You should manually remove a font on your Mac to declutter the font library or permanently resolve issues caused by a problematic font.
Note: You can’t remove or uninstall fonts that come pre-installed on your Mac.
- Control-click the font name in Font Book and select Remove.
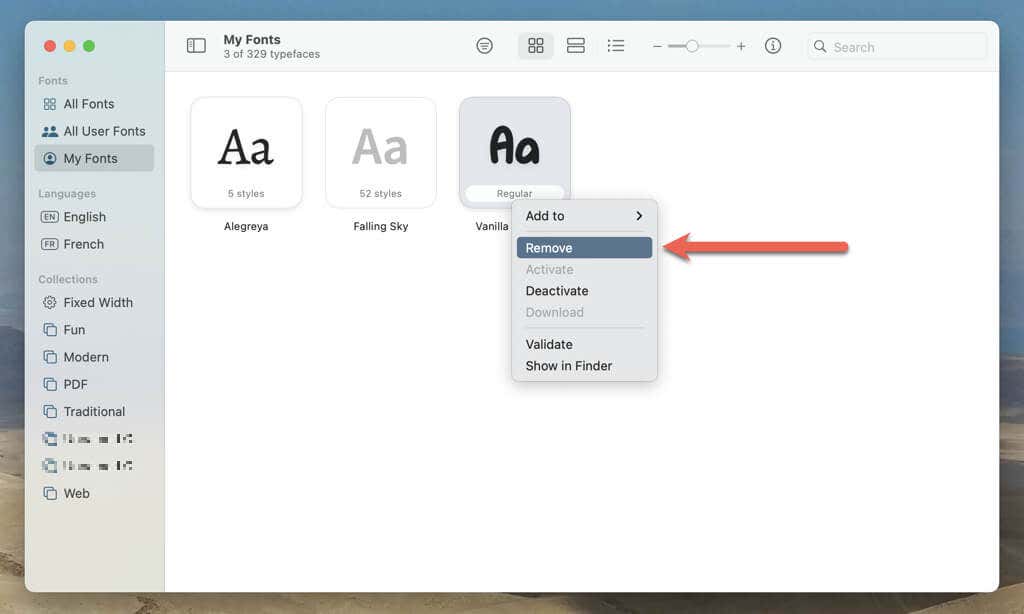
- Choose Remove Font(s) as confirmation.
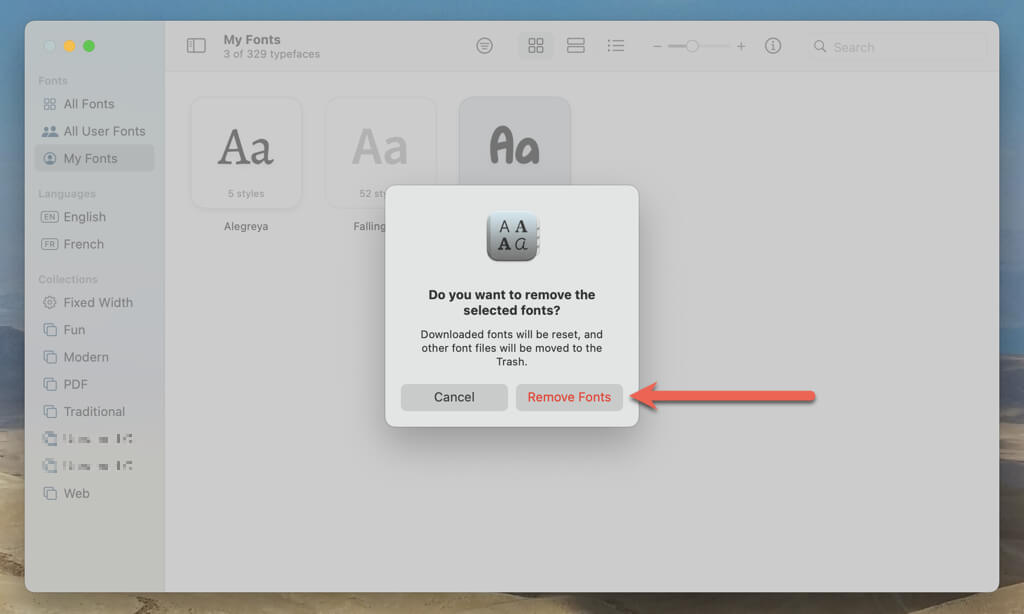
The font will be moved to the Trash. If you remove a downloadable system font by Apple, it will continue to appear within the Font Book app but will be grayed out—you can re-download it whenever you want.
Manage Fonts via Font Book
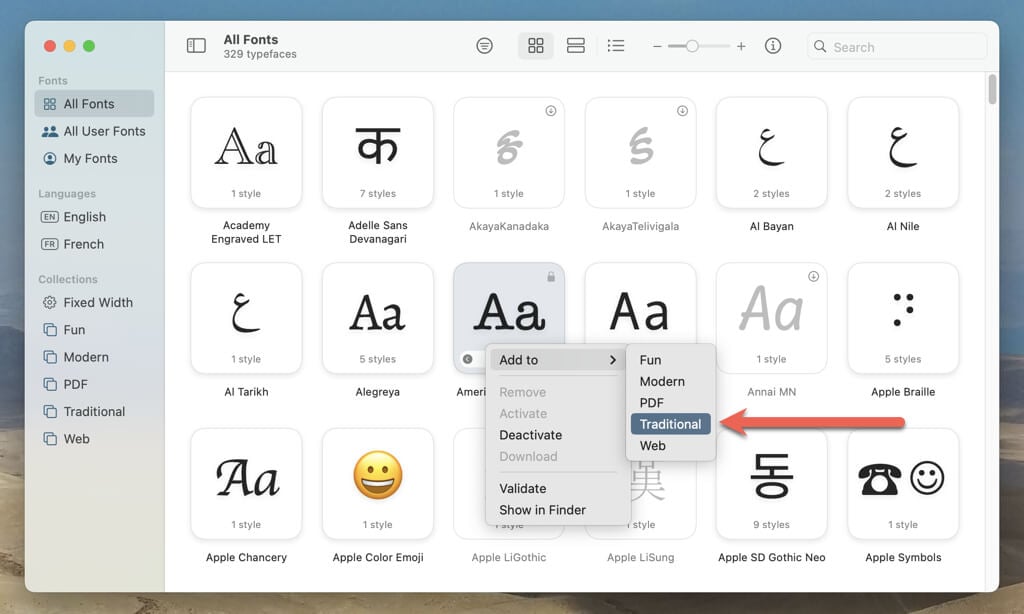
You can use the Font Book app to manage fonts by categorizing them into collections. There are several collections that show up by default on the sidebar—e.g., Modern, Traditional, and Web.
To move a font to a collection, just right-click it, point to Add to, and pick the collection to which you want to add it.
You can create additional collections easily. To do that:
- Select File > New Collection on the Font Book menu bar.

- Add a name and press Return.

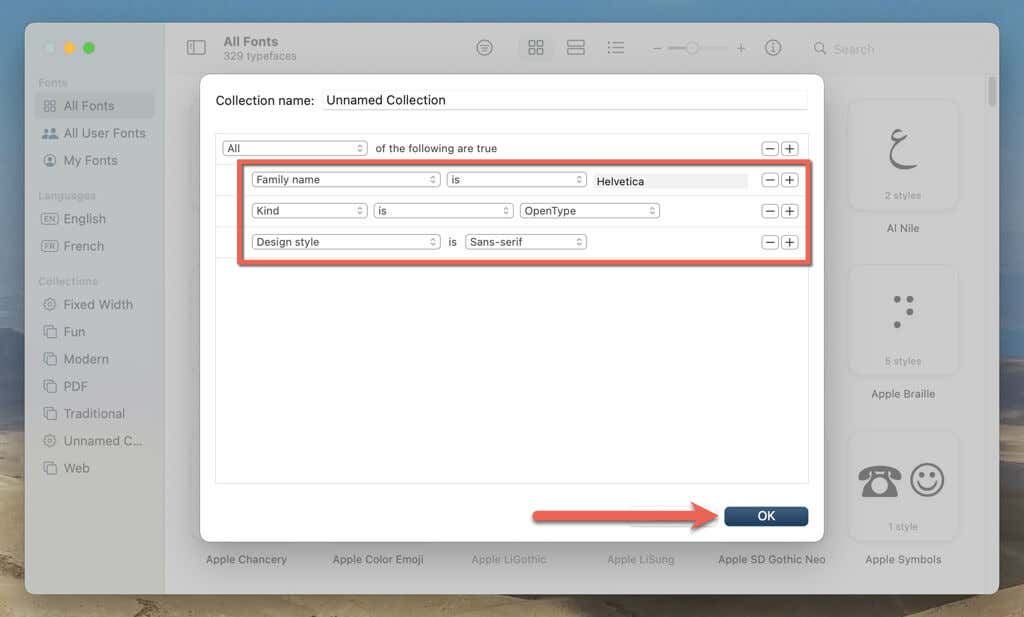
Alternatively, create a new smart collection in the Font Book app to automatically categorize your fonts based on pre-set criteria. Select File > New Smart Collection on the menu bar, specify the filtering criteria, such as the Family name, Kind, and Style name, and select OK.
Add Fonts for All Users
You can install new fonts for all Mac users, not just yourself. To do that, you must change the default location for the font folder on the hard drive. Font Book makes that easy. Just:
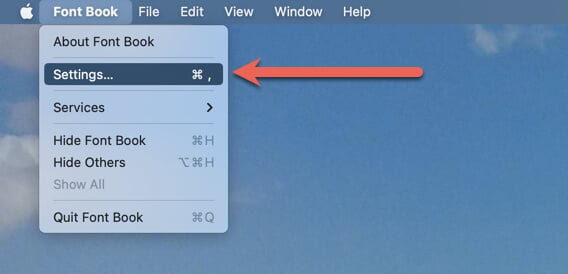
- Open the Font Book app and select Font Book > Settings on the menu bar.
- Switch to the Installation tab, open the drop-down menu under Default install location, and select All Users.
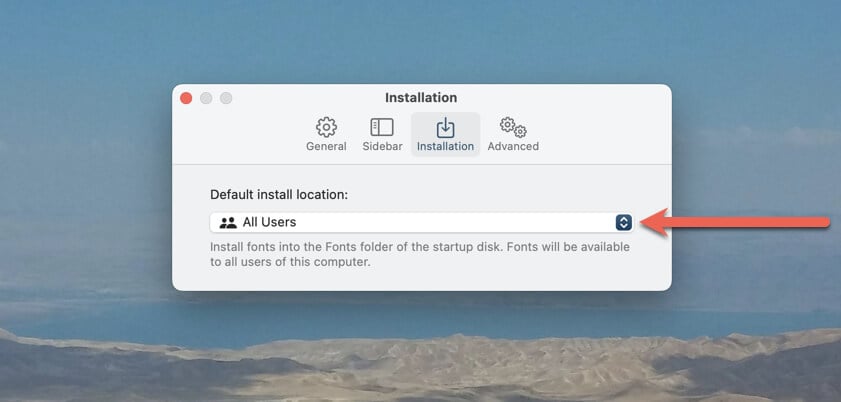
That should move the default font library folder from /Users/[username]/Library/Fonts to /Library/Fonts.
Restore Default Fonts on Mac
If you run into severe font-related issues on your Mac, you can go back to using fonts that came pre-installed with macOS. To do that:
- Open the Font Book Settings pane, switch to the Advanced tab, and select Reset Fonts.
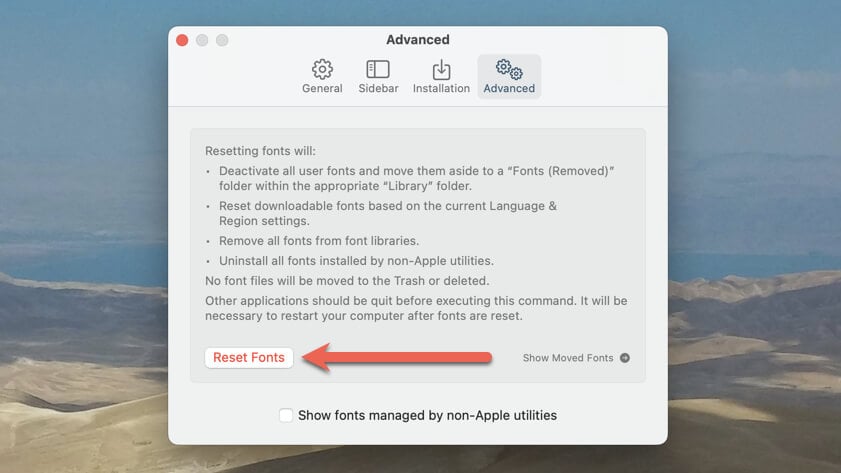
- Select Proceed.

Your Mac should restart itself to finalize the font reset.
Font Management on Mac Made Easy
Adding new fonts to your Mac can help you express your creativity and enhance your designs. Whether you need a new font for a project or want to spice up your presentation, installing and removing fonts on your Mac is quick and easy. With a few simple steps, you can customize your font collection and take your visual work to the next level. By the way, did you know you can also use custom fonts on an iPhone?
Subscribe on YouTube!
Did you enjoy this tip? If so, check out our YouTube channel from our sister site Online Tech Tips. We cover Windows, Mac, software and apps, and have a bunch of troubleshooting tips and how-to videos. Click the button below to subscribe!
Subscribe