I write a lot. It is my occupation, my hobby, and pretty much the one thing I am good at. If I am not writing articles, I am writing books, which means not only do I mess up a lot of keyboards, I also end up hurting my hands and wrists while going at 130 words a minute.
That is why I have started recently to experiment with dictation. I don’t mean hiring a nice-looking secretary to sit on my knee while I “dictate”. That would be nice, but I think the wife would have a serious problem with it. No, what I mean is computer dictation and macOS has it built right in.


Setting Up Dictation On MacOS
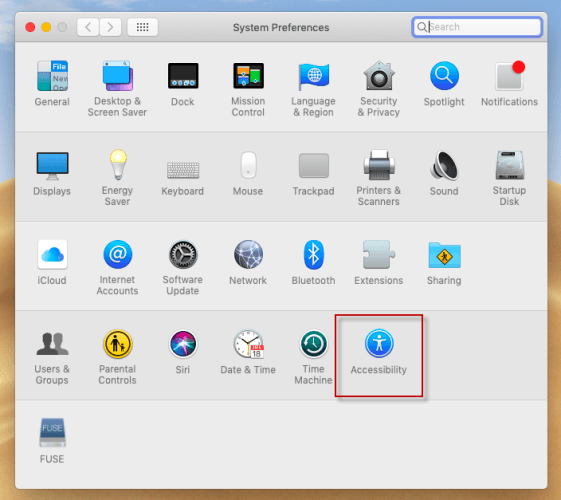
The first step is to go into System Preferences and then “Accessibility”.

Now go to the “Dictation” tab and switch “Dictation” on.


When it has been switched on, “Use Enhanced Dictation” will be activated. If this is the first time you’re using dictation, you will be asked to download a small file for “enhanced dictation”. Go ahead and allow that. It doesn’t take long.
It’s worth using “enhanced dictation” because, as it says, it allows you to use it while you are offline.

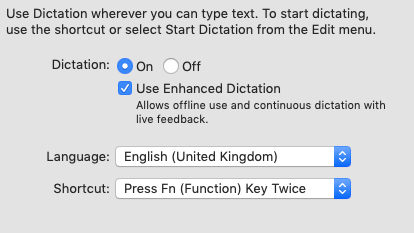
Now choose what language you will be speaking in so the computer can obviously recognize what you are saying. If your language is not already showing, drop down the “Language” box and you will be invited to select your language.
For example, there are four different kinds of English available.


When you choose a language, the relevant language pack will be downloaded.
Now choose a keyboard shortcut that you can easily remember to activate dictation mode. Dropping down the Shortcut menu gives you possibilities or you can customize your own.


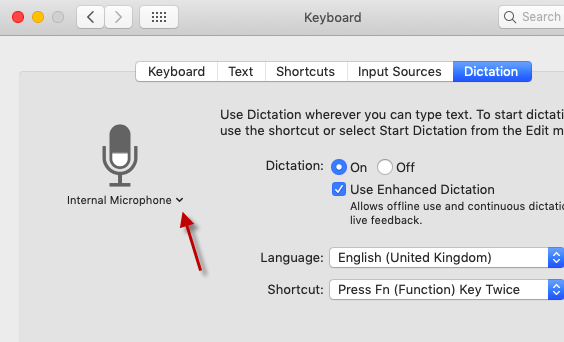
Finally, choose what microphone you will be using to dictate into. By default, it is at “Internal Microphone” but if you plug in another mike (I have a Yeti microphone for example) then you can drop the menu down and choose which one you want to use.

Once you’ve done all of these things, dictation has been set up on your macOS. Now it’s time to try it out.
Doing Dictation On Your MacOS
First, you need to open something to capture your words. This can be a word processing document, your email, even your browser URL bar (you can dictate website addresses to it).
For our example today, I have opened a blank TextEdit document. When you are ready to say something, hit the keyboard shortcut to open up the Dictation box and start talking.

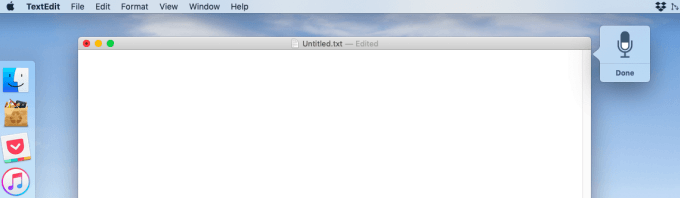
As you talk, there is a time lag of a few seconds before words start appearing in the document.
I said “This is a test of the Mac dictation feature” and it came out like so.

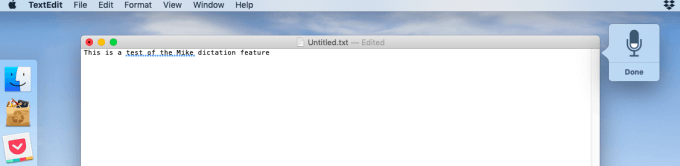
As you can see, it got one word wrong, but that is a problem due to my deep irresistible Scottish accent. But generally, macOS dictation has a very high success rate whatever language you do it in.
Once you have finished dictation, click “Done” on the little box to shut it down.